How to Save Seeds
This post may contain affiliate links. Read the full disclosure here.
There are numerous benefits to saving your garden seeds. Not only can it save you money, but it’s also an opportunity to practice self-reliance and make your garden plants stronger and healthier each year. Let’s dive into the practical steps for how to save seeds.
Why Should You Save Seeds?
Here are just a few reasons why you should consider saving your seeds from year to year.
- You’ll develop greater self-reliance
- You can know exactly what you’re planting
- You’ll save money
- You can pass down your seeds from generation to generation
- Each year, as your seeds adapt to your climate, your plants improve
- Seeds make great gifts, or they can be traded with friends
- Saving seeds is an excellent learning experience and produces an incredible sense of accomplishment
What Are the Easiest Seeds to Save?
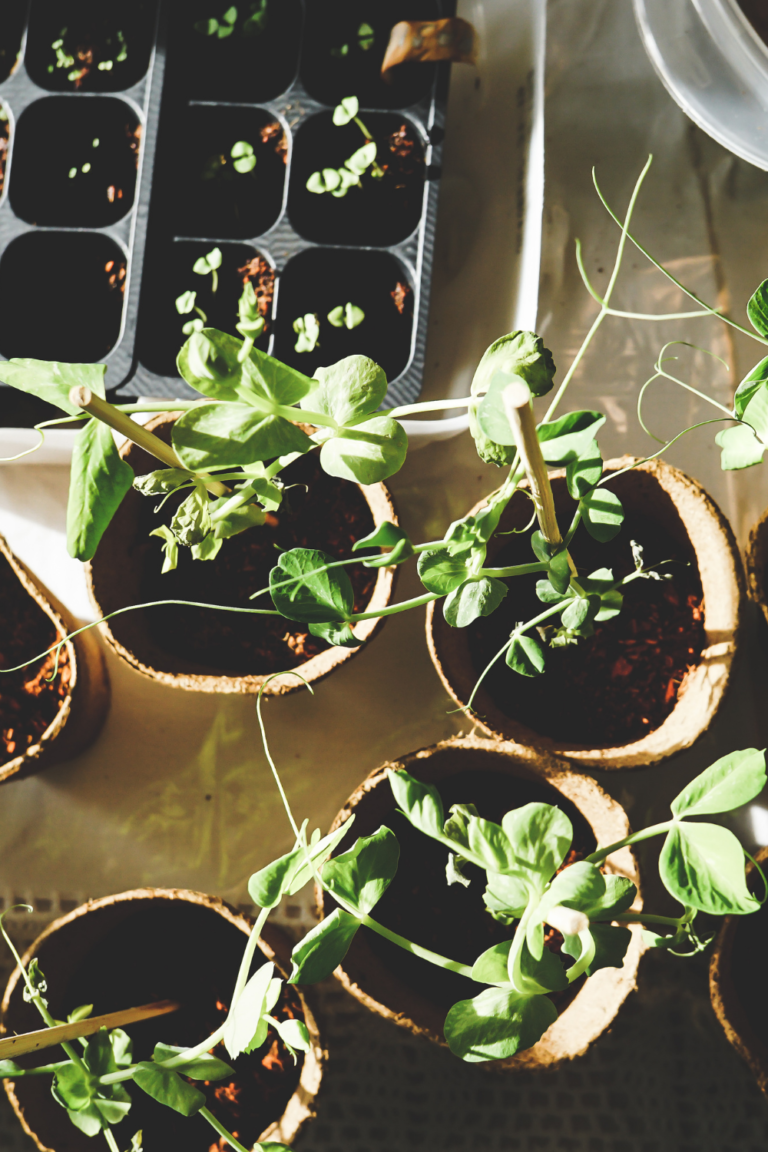
Bean seeds are some of the easiest to save. All you have to do is leave the pods hanging on your bean plants until they are dry. When they turn brown, you can pick your beans and harvest the seeds. Just make sure they are thoroughly dry before storing. Peas are harvested similarly, which makes them very easy to save as well.
Make sure to only save seeds from your healthiest, sturdiest plants. Choose disease-free pods that hold the most beans or peas. By only saving seeds from the best plants, you’ll actually be able to watch your garden improve year after year.
Other seeds that are easy for beginners to save include tomatoes, peppers, lettuce, and basil.
How to Save Seeds
The method for saving seeds varies a bit from one plant to another. Here are the basic steps of seed saving.
- Choose an easy crop (such as beans, peas, tomatoes, peppers, or lettuce) and find the healthiest plants from that crop.
- Let your crop mature and dry. This generally means leaving them on the plant longer than you would if you were harvesting the crop for eating or preserving.
- Bring the crop inside for more drying (laying them out on parchment paper for a few days or in front of a fan works well). Make sure they are completely dry before storing.
- Store your seeds in airtight containers in a cool, dry place.
Before you begin harvesting, drying, and storing your seeds, be sure to check into the best practices and the best time to harvest for your specific crop. Here are some more tips on how to collect and dry seeds from five of the easiest plants.
What’s the Best Way to Store Seeds?
Before you store your seeds, it’s very important to make sure that they’re completely dry. There are multiple methods for ensuring dryness, including laying your seeds on parchment paper in a well-ventilated area or placing your seeds near a fan. If you choose the fan method, just be sure to secure them first! Securing your seeds tightly between mesh screens is a fairly simple way to accomplish this.
After your seeds have dried, you can store them in airtight containers. Tightly-sealed glass jars or airtight plastic containers work well. Many gardeners choose to keep their seeds in paper packets inside the sealed containers so that they are easier to label, handle, and organize.
After you seal your seeds, move them to a cool, dry place. A dark cupboard or basement works well.
For long-term storage (or if you don’t have a consistently cool basement for storage), keep your seeds in the freezer. If this is not an option, a refrigerator also works well.
If you do choose to store your seeds in the freezer, it’s important to let the seeds reach room temperature before planting the seeds again next year. After this, give them some air for a few days by opening your container.
Moisture is the most common way that seeds are destroyed. Therefore, it’s vital to let your seeds dry completely before planting them in your garden.
How Long Do Stored Seeds Last?
When properly stored, seeds can easily last from one year to five years or even more. Again, it’s very important to make sure that all of the moisture is removed from your seeds before you save them. You’ll also want to make sure that there is very low humidity wherever your seeds are stored in order to keep them from taking on any moisture.
The length of time that your seeds will last depends not only on the storage method, but also on the type of plant itself. For example, some seeds like beans, peas, onions, corn, and spinach tend to last for 1-2 years. Other seeds, such as peppers, lettuce, squash, watermelon, and asparagus (when stored properly) can be expected to last for 3-4 years or more.
Are you storing seeds this year?
For many homesteaders, it’s a constant ambition to become more self-reliant year after year. Saving seeds is a wonderful way to contribute to this goal.
If you’re storing seeds this year, which seeds are you planning to save?

See our Airstream Remodel Reveal here!


