How to Can Your Own Foods
This post may contain affiliate links. Read the full disclosure here.
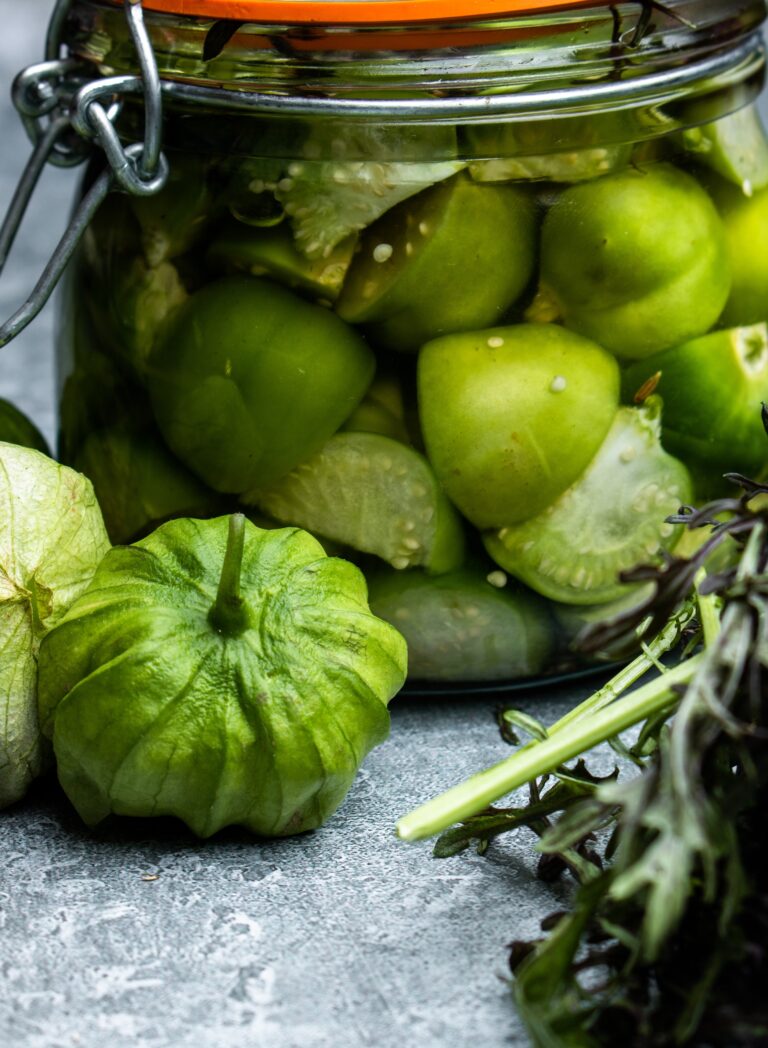
Interested in canning your own foods but don’t know where to start? Canning foods is a great way to preserve them for later use and can be a fun and rewarding process.
When you have an abundant garden, it’s no surprise if you’re left with way more produce than you can eat fresh. Canning is a great way to extend the life of your fruits and vegetables so that you can enjoy them later in the year.
If you’ve never canned before, it can seem like a daunting task. In this article, we’ll walk you through the basics of canning your own foods.
Benefits of Canning Your Own Foods
There are many benefits to canning your own foods. Canning your own foods allows you to:
- Preserve food for later use
- Save money by canning in bulk
- Have more control over the ingredients in your food
- Avoid food waste
- Give home-canned food away for gifts
- Be more self-sufficient
Canning Methods
There are two main methods of canning: water bath canning and pressure canning.
Water bath canning is best suited for high-acid foods, like fruits and pickles. It’s the easier of the two methods, and doesn’t require any special equipment – you can do it in a large pot as long as your jars will fit.
Pressure canning is necessary for low-acid foods, like meat and vegetables. This method uses a pressure cooker to create an airtight seal, which prevents bacteria from growing in the food.
Both methods require the use of canning jars, lids, and rings. The jars need to be made of heat-resistant glass, and the lids should have a rubber seal.
Supplies for Canning
There are a few supplies you’ll need for canning, regardless of which method you choose.
Canning jars: Canning jars are made of heat-resistant glass, and come in a variety of sizes. They should be free of any chips or cracks.
Canning lids: Canning lids have a rubber seal that creates an airtight seal.
Canning rings: Canning rings hold the lids in place on the jars.
Water bath canner or pressure cooker: A water bath canner is a large pot that can be used for water bath canning. A pressure cooker is necessary for pressure canning.
Funnel: A funnel is to fill the jars with food.
Tongs: Tongs are to handle hot jars.
Ladle: A ladle is to scoop food into the jars.
Jar lifter: A jar lifter is to lift hot jars out of the canner.
Timer: A timer is helpful to keep track of the processing time.
Foods to Can
If you’re wondering what foods you can preserve with canning, the answer is pretty much anything.
Most fruits and vegetables can be canned using the water bath method, while low-acid foods will need to be pressure canned.
Here are some common foods that people like to preserve with canning:
- Tomatoes
- Peaches
- Pears
- Applesauce
- Berries
- Pickles
- Salsa
- Jam
- Jelly
- Vegetables
- Beans
- Chili
- Soups
- Meat
Hot vs Raw Packing
When canning fruits and vegetables, you have the option of hot packing or raw packing.
Hot packing involves cooking the food before putting it in the jars, while raw packing simply involves filling the jars with raw food.
Hot packing is recommended because it reduces the risk of spoilage, and also shrinks the food so that you can fit more in the jars.
However, hot packing can also make the food more mushy. If you’re canning whole fruits or vegetables, raw packing is often a better option.
To hot pack, simply cook the food until it’s soft, then fill the jars and cover with boiling water.
To raw pack, fill the jars with raw food and cover with boiling water.
Instructions for Water Bath Canning
1. Fill the canner with water and place it on the stove.
2. Sterilize the jars and lids by boiling them in the canner for 10 minutes.
3. Fill the sterilized jars with food, leaving about ½ an inch of headspace at the top of the jar.
4. Use a funnel to pour the hot water from the canner into the jars, covering the food.
5. Put the lids on the jars and screw on the rings.
6. Place the jars in the canner, making sure they’re covered with water.
7. Bring the water to a boil and process the jars for the recommended time.
8. Turn off the heat and let the jars sit in the canner for 5 minutes.
9. Use tongs to remove the jars from the canner and place them on a towel to cool.
Instructions for Pressure Canning
1. Fill the pressure cooker with water and place it on the stove.
2. Place the jars in the pressure cooker and make sure they’re covered with water.
3. Close the lid and set the pressure to 10 pounds per square inch.
4. Cook for the recommended time.
5. Let the pressure cooker cool until the pressure is released, then open the lid.
6. Use tongs to remove the jars from the pressure cooker and place them on a towel to cool.
Recommended Processing Times for Canning
Different foods require different processing times in order to ensure they are safe to eat. The processing time also varies depending on whether you’re hot or raw packing, as well as what size jars you’re using.
The University of Minnesota offers an easy-to-follow chart with recommended processing times for home canning.
How to Store Canned Foods
After your canned food is processed, it’s important to store them properly to ensure they stay fresh.
Canned foods needs to be stored in a cool, dark place. A pantry or cupboard is ideal.
Be sure to check the jars periodically for any signs of spoilage, such as mold or leaks. If you notice any of these, throw the food away.
Canned foods can be stored for up to a year. After that, the quality of the food will start to decline.
Frequently Asked Questions
Can I use my Instant Pot as a pressure cooker?
Use the Instant Pot for pressure canning is not recommended by the manufacturers. It’s better to use a dedicated pressure cooker for this purpose.
Are home canned foods safe?
Canning is a safe way to preserve food if it’s done properly. Be sure to follow the instructions carefully, follow all of the sterilization practices, and use the recommended processing times.
What is the shelf life of home canned foods?
When stored properly, canned foods can last for up to a year.
Can I use mason jars for canning?
Yes, you can! Mason jars are a popular choice for canning because they’re readily available and inexpensive.
Be sure to use jars that are specifically made for canning. Regular mason jars may not be strong enough to withstand the canning process.
Do I need to peel the fruit before I can it?
No, you don’t need to peel the fruit before you can it, but you should wash it well.
Can I reuse canning lids?
Yes, you can reuse canning lids, but you should only do so if they’re in good condition. The rings tend to hold up longer than the lids.
Check the lids for any signs of damage, such as dents or cracks. When lids are damaged, they will not seal properly. Therefore, there is a higher chance the food will spoil.
What is headspace?
Headspace is the amount of space between the food and the lid of the jar. It’s important to leave enough headspace so that the food has room to expand during processing.
For most fruits and vegetables, ½ an inch of headspace is sufficient.
Home canning is a great way to preserve your favorite fruits and vegetables. It’s easy to do. Use mason jars or a pressure cooker to get the job done. Just be sure to follow the instructions carefully and store your canned foods in a cool, dark place for best results.
Have you ever canned your own foods?

Photo by Erda Estremera on Unsplash
See our Airstream Remodel Reveal here!


