DIY Wildflower Seed Bombs
This post may contain affiliate links. Read the full disclosure here.
Are you looking for a simple way to add some beautiful flowers to your yard or garden? If so, check out these super simple DIY Wildflower Seed Bombs. Not only can you make these easily at home but it really is a great family project that everyone in the house can help with.
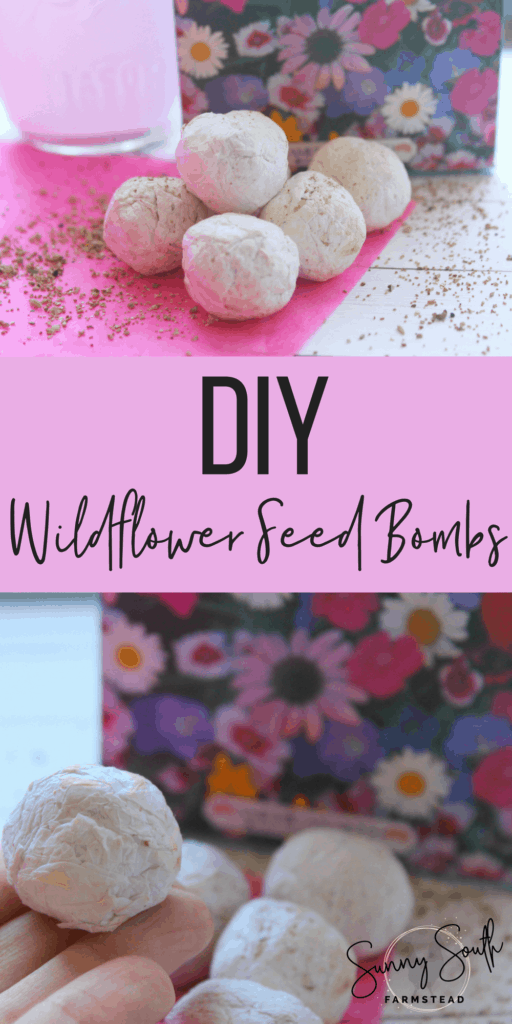
If you are ready to add a spruce of gorgeous-ness (because that’s totally a word) to your yard, these seed bombs take the cake! They are a super fun and easy craft to make and it’s so fun and exciting to see what pops up out of the ground after you plant them!
The good news? You literally don’t need hardly any supplies to get started. And what you do need, you can grab at the Dollar Store for a really affordable price.
*affiliate links are used in this post which is at no extra cost to you
What do you do with a seed bomb?
You make them and plant them, it’s really as simple as that. The whole purpose of the seed bombs is to plant the seeds in a way that keeps them moisturized and safe from being washed out or dug out.
What is the best time to plant wildflower seeds?
They can be planted during the Spring, Summer, or Fall as long as you’re taking the measures to ensure that they’re getting plenty of water.
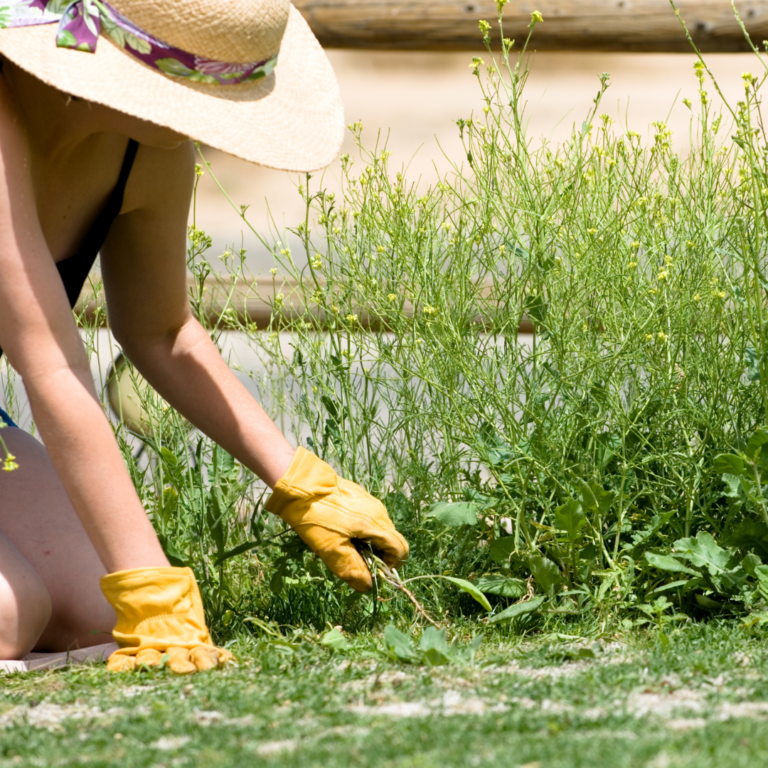
Where is the best place to plant wildflowers?
For your wildflowers to start blooming and reach their full capacity, you need to plant them in a location where they get at least 6 hours of sunlight.
Now that you know a little bit about wildflowers and how to prepare, let’s dive into the steps you need to take to make your own homemade wildflower seed bombs.
DIY Wildflower Seed Bombs
Supplies needed:
- Tissue paper, newspaper, recycled packing paper, or other paper of choice
- Wildflower seed mix of your choice (you can find it by the box at most dollar stores)
- Mixing bowl
- Water
When deciding what type of paper you wish to use, you have many options. This craft is a great way to recycle newspapers, packing paper, tissue paper, or any extra paper you have. It will help if the paper is thin and NOT cardstock.
How to Make Wildflower Seed Bombs at home
Begin by tearing the paper into strips. Size doesn’t matter much, just so the pieces are a good 2 by 2 inches in size at least and not small confetti sized pieces.
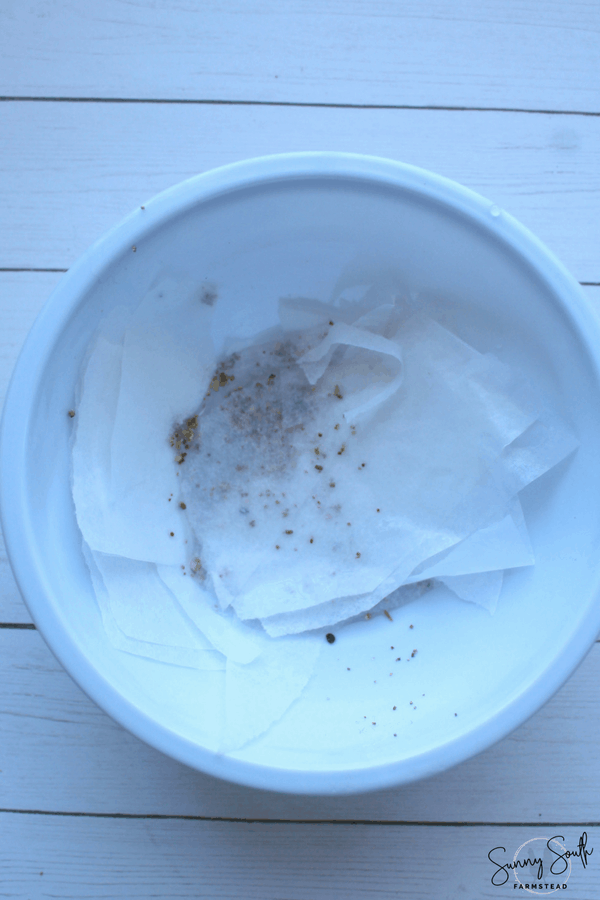
In the mixing bowl, add a tablespoon of water.
Add in the strips of paper and sprinkle the top with a tablespoon of seeds.

Start mixing the paper and seeds with your hands. Continue to squish the paper and seeds together and roll them into a ball. If the mixture is too wet and won’t stick, add more paper strips to help absorb some of the liquid.
Continue rolling the paper and seed mixture into a ball. If you wish to really keep the ball tight, take an additional strip of paper and wrap it around the finished ball. Dab at it with wet fingers to help it all stick in place.
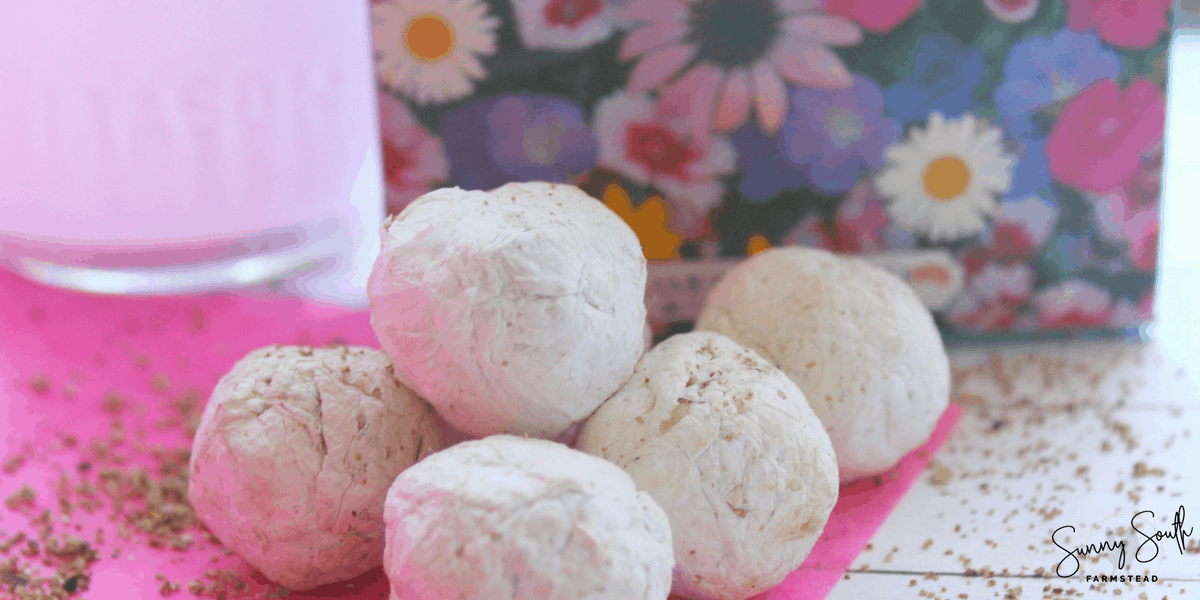
Place the seed bombs on a tray or plate and allow them to dry. It will take about 24 hours for them to fully dry.
How to plant your DIY Seed Bombs
To plant your seed bombs, simply dig a hole about 4 inches deep and drop the entire bomb into your soil. Allow it plenty of light and water, and within a few weeks, you should see it start to sprout!
Like this post? Make certain to check out these other great DIY ideas:
See our Airstream Remodel Reveal here!


Hi! I was wondering if you could store the seed bombs over the winter to use in the Spring or if you need to plant them right away?
Hey Jamie!
You could definitely store them. I would freeze them over the winter 🙂